On this page
Deploy an app with Deno Deploy
Deno Deploy allows you to host your Deno applications on a global edge network, with built in telemetry and CI/CD tooling.
This tutorial guides you through creating and deploying a simple Deno application using Deno DeployEA.
Prerequisites Jump to heading
- A GitHub account
- Deno installed on your local machine
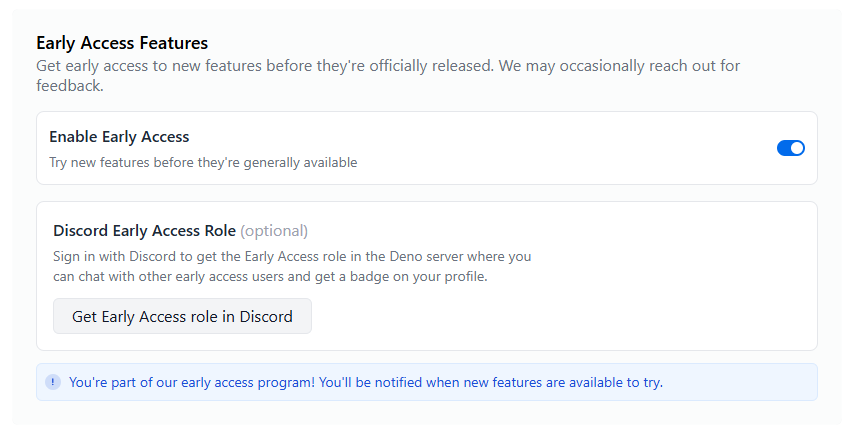
- Access to the Deno Deploy Early Access program
Create a simple Deno application with Vite Jump to heading
First, let's create a basic application with Vite, initialize a new Vite project:
deno init --npm vite
Give your project a name and select your framework and variant. For this tutorial, we'll create a vanilla TypeScript app.
Change directory to your newly created project name with cd my-project-name
then run:
deno install
deno run dev
You should see a basic app running at http://127.0.0.1:5173/.
You can edit the main.ts file to see changes in the browser.
Create a GitHub repository Jump to heading
-
Go to GitHub and create a new repository.
-
Initialize your local directory as a Git repository:
git init
git add .
git commit -m "Initial commit"
- Add your GitHub repository as a remote and push your code:
git remote add origin https://github.com/your-username/my-first-deno-app.git
git branch -M main
git push -u origin main
Sign up for Deno Deploy Early Access Jump to heading
- Visit the Deno Deploy account settings
- Click "Join the Early Access program"
- Once approved, you'll receive an email with access instructions
Create a Deno Deploy organization Jump to heading
- Navigate to console.deno.com
- Click "+ New Organization"
- Select the 'Standard Deploy' organization type
- Enter an organization name and slug (this cannot be changed later)
- Click "Create Standard Deploy organization"
Create and deploy your application Jump to heading
-
From your organization's dashboard, click "Try new Deno Deploy Early Access"
-
Then click "+ New App"
-
Select the GitHub repository you created earlier
-
The app configuration should be automatically detected, but you can verify these settings blu clicking the "Edit build config" button:
- Framework preset: No preset
- Runtime configuration: Static Site
- Install command:
deno install - Build command:
deno task build - Static Directory:
dist
-
Click "Create App" to start the deployment process
Monitor your deployment Jump to heading
- Watch the build logs as your application is deployed
- Once deployment completes, you'll see a preview URL (typically
https://your-app-name.your-org-name.deno.net) - Click the URL to view your deployed application!
Make changes and redeploy Jump to heading
Let's update the application and see how changes are deployed:
Update your main.ts file locally:
import './style.css'
import typescriptLogo from './typescript.svg'
import viteLogo from '/vite.svg'
import { setupCounter } from './counter.ts'

document.querySelector<HTMLDivElement>('#app')!.innerHTML = `
  <div>
    <a href="https://vite.dev" target="_blank">
      <img src="${viteLogo}" class="logo" alt="Vite logo" />
    </a>
    <a href="https://www.typescriptlang.org/" target="_blank">
      <img src="${typescriptLogo}" class="logo vanilla" alt="TypeScript logo" />
    </a>
    <h1>Hello from Deno Deploy!</h1>
    <div class="card">
      <button id="counter" type="button"></button>
    </div>
    <p class="read-the-docs">
      Click on the Vite and TypeScript logos to learn more
    </p>
  </div>

setupCounter(document.querySelector<HTMLButtonElement>('#counter')!)
- Commit and push your changes:
git add .
git commit -m "Update application"
git push
Return to your Deno Deploy dashboard to see a new build automatically start. Once the build completes, visit your application URL to see the update.
Explore observability features Jump to heading
Deno DeployEA provides comprehensive observability tools:
-
From your application dashboard, click "Logs" in the sidebar
- You'll see console output from your application
- Use the search bar to filter logs (e.g.,
context:production)
-
Click "Traces" to view request traces
- Select a trace to see detailed timing information
- Examine spans to understand request processing
-
Click "Metrics" to view application performance metrics
- Monitor request counts, error rates, and response times
🦕 Now that you've deployed your first application, you might want to:
- Add a custom domain to your application
- Explore framework support for Next.js, Astro, and other frameworks
- Learn about caching strategies to improve performance
- Set up different environments for development and production